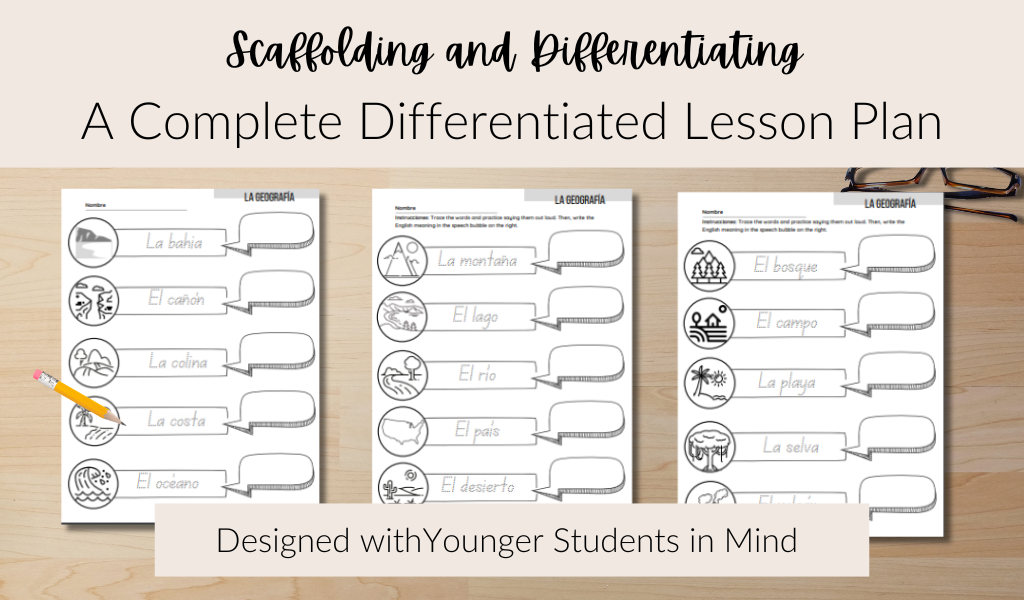
Hey there, Joyful Journey Makers! Let’s talk about how to scaffold and differentiate for younger students in a fun and effective way. Using my La Geografía Writing Activity, you’ll help your students learn Spanish geography vocabulary while keeping things engaging for all levels. Whether they’re tracing words for the first time or beginning to describe simple geographical features, we’ll walk through a lesson plan that uses scaffolding and differentiation to support your students at every step.
But here’s a question: How can we challenge our more advanced students while making sure our beginners don’t feel overwhelmed? The answer is scaffolding—we provide the right amount of support for each learner, then gradually reduce that support as they grow more confident. And differentiation? It’s all about giving each student the right task for their level.
Let’s explore how you can do this with younger learners, using my La Geografía Writing Activity.
The 4 Levels of Learning for Younger Students
Here’s a quick breakdown of the four skill levels we’ll use to differentiate this lesson for younger students:
Sample Lesson Plan: Differentiation and Scaffolding for Younger Students
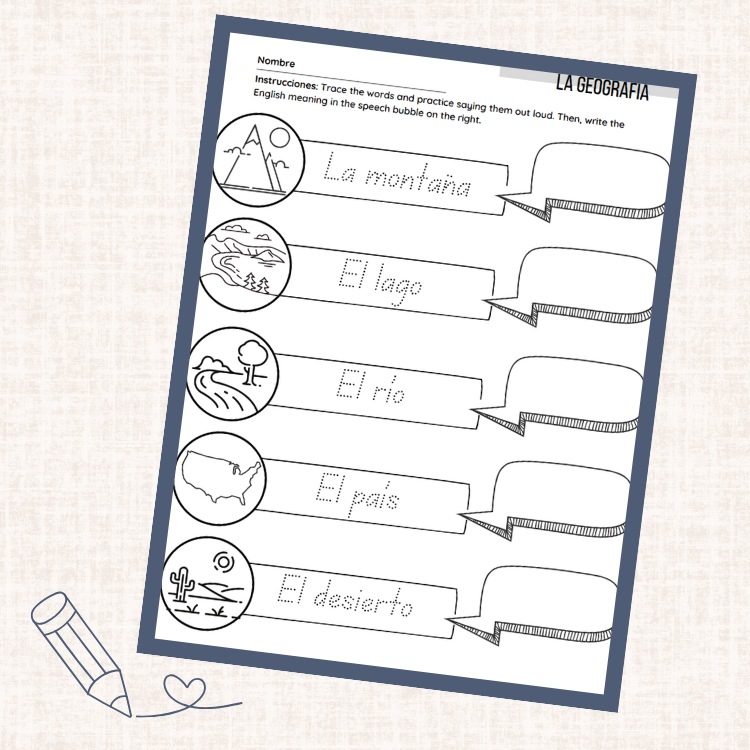
Objective: Students will learn and practice geographical vocabulary in Spanish, such as el río (the river) and la montaña (the mountain). By the end of the lesson, students will be able to trace words, use short phrases, and speak basic sentences about geographical features.
Materials:
- La Geografía Writing Activity
- Flashcards or pictures of geographical features
- Vocabulary banks for sentence building
- Whiteboard for modeling sentences
Warm-Up (5-10 mins):
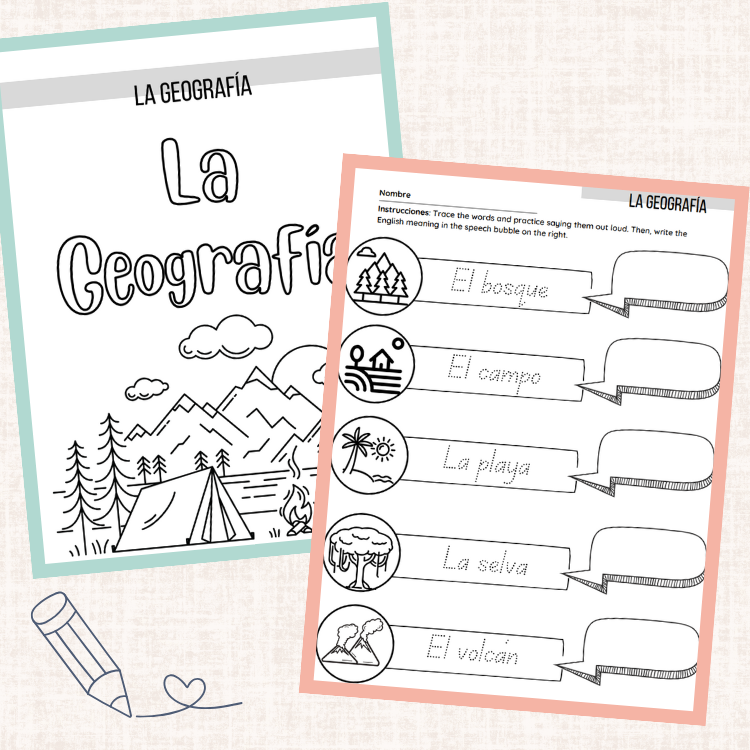
Start by introducing the geographical vocabulary with visual aids. Show pictures of places like la playa (the beach) and el volcán (the volcano). Say each word out loud, have students repeat, and discuss what each place is.
Scaffolding Phase 1 – Teacher Modeling (10-15 mins):
- Teacher Modeling: Write short sentences on the board like “El río es largo” (The river is long) and “La montaña es alta” (The mountain is tall). Say the sentences aloud, and ask students to repeat after you.
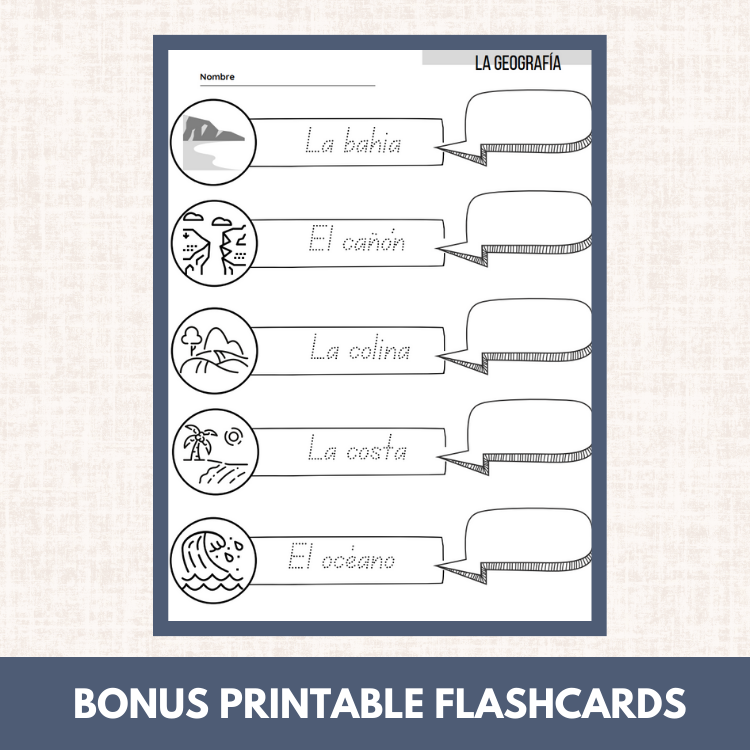
- Novice Practice: Have novice students trace the vocabulary words from the La Geografía worksheet. Encourage them to say the words aloud as they trace. For these students, focus on building their confidence with basic vocabulary and pronunciation.
Scaffolding Phase 2 – Group Work (15-20 mins):
- Apprentice Activity: Provide sentence frames for apprentice learners, such as “El río es _____” (The river is ____) or “La montaña es _____” (The mountain is ____). They can fill in the blanks with vocabulary from the worksheet. This helps them create simple sentences without feeling overwhelmed.
- Practitioner Activity: Have practitioners write their own short sentences about geographical features. You can give them prompts like “Describe el río” (Describe the river) or “¿Cómo es la montaña?” (What is the mountain like?). They should use the vocabulary they’ve learned but aren’t expected to write full paragraphs.
Scaffolding Phase 3 – Independent Practice (15-20 mins):
- Expert Activity: Challenge your expert students to write longer sentences. They can describe multiple geographical features, like “El volcán es alto y la playa es grande” (The volcano is tall and the beach is big). Let them add more details without requiring full paragraphs.
- Interactive Speaking for All Levels: After the writing activity, pair students up to ask and answer questions about the geographical features. For example, “¿Dónde está la playa?” (Where is the beach?) or “¿Cómo es el volcán?” (What is the volcano like?). This gives them a chance to practice speaking in a supportive setting.
Common Pitfalls (And How to Avoid Them)
- Pitfall: Overwhelming Novice Learners
Throwing too much at your novice learners too soon can leave them feeling frustrated.
The Fix: Keep it simple! Stick to tracing, repeating, and using visuals. Make sure they’re comfortable with the basics before moving on. - Pitfall: Not Challenging Experts Enough
On the flip side, if your expert learners are only tracing and repeating, they’ll get bored quickly.
The Fix: Offer longer sentences or more complex tasks to keep them engaged. Let them describe multiple features or practice asking questions in pairs. - Pitfall: Not Enough Speaking Practice
It’s easy to focus on writing, but students also need to speak the language to build confidence.
The Fix: Incorporate partner conversations after the writing activity. Speaking helps reinforce the vocabulary and gives students a chance to use the language in real-world scenarios.
Get Your Resource: La Geografía Writing Activity
How I Used This Activity with Younger Students
When I first used the La Geografía Writing Activity with my younger students, I knew I needed to adjust it for different levels. For my novice learners, we started with tracing and saying the words out loud—“El río”, “La playa”. They loved it! By the time we got to apprentice and practitioner levels, students were ready to write short sentences. One of my students proudly wrote “El volcán es alto” and then shared it with the class. By the end of the lesson, even my experts were creatively describing multiple features with longer sentences.
And yes, there were a few hiccups along the way, like one student who insisted that every geographical feature was “grande” (big). But hey, that’s part of the learning process, right?
5 Ways to Use This Activity in Your Classroom
- Morning Warm-Up: Use this activity as a morning warm-up to help students practice their tracing and pronunciation right when they walk into class.
- Partner Work: Have students work in pairs to ask each other questions like “¿Dónde está el río?” or “¿Cómo es la montaña?” This gets them talking and using the vocabulary in a real conversation.
- Scaffolded Group Work: Divide students into groups based on their levels. Novices can trace, apprentices can use sentence frames, practitioners can write short sentences, and experts can describe multiple features.
- Vocabulary Stations: Set up stations in your classroom where students rotate between tracing, writing, and speaking. This keeps the lesson dynamic and ensures everyone practices at their level.
- Exit Ticket: Use the writing portion of the worksheet as an exit ticket. Have students write one sentence about a geographical feature before they leave, and use that to assess their understanding.
The Gist of it All
By scaffolding and differentiating the La Geografía Writing Activity, you can meet every student where they are—whether they’re just starting to trace vocabulary or writing longer sentences with confidence. With a little creativity and thoughtful planning, you can make language learning fun, engaging, and accessible for all!


